Content creation for Digital signs with Piktochart
Did you ever feel like creating content is the most difficult part of digital signage? Yet you understand how important it is. if you think that only graphic designers are able to create content for your digital sign, well think again! We have found the perfect solution for you, and it’s free!
No graphic designer skills are needed to get started, just a computer with internet and a bit of creativity. Thanks to Piktochart great online tool, anyone including you can create content.
In this example we will create Digital content for A bakery. After all, Who doesn’t like freshly baked bread and croissants ? It will serve as a good Typical example for layout And content. We will use images, prices, text, background,… to answer most design needs for compelling digital signage content.
- Start with a concept of the layout
- Open an account on piktochart
- Start your first layout creation
- Adjust the canvas to match your display resolution
- Add a background image
- Add some other details to the layout
- Add your text and/or call to action
- Duplicate existing layout
- Use it for adding price and other call to actions
- Continue till all your content is created
- Export your content for upload on easyCMS
1. Start with a basic concept or a drawing
Before you get started creating your content, you must first define what you want to achieve. Is it a promotion ? Is it an information ? By defining the type of message you want to convey, you will already narrow down the designs styles. This will help you to create a concept in your head of what the design will need contain and how it will look like.
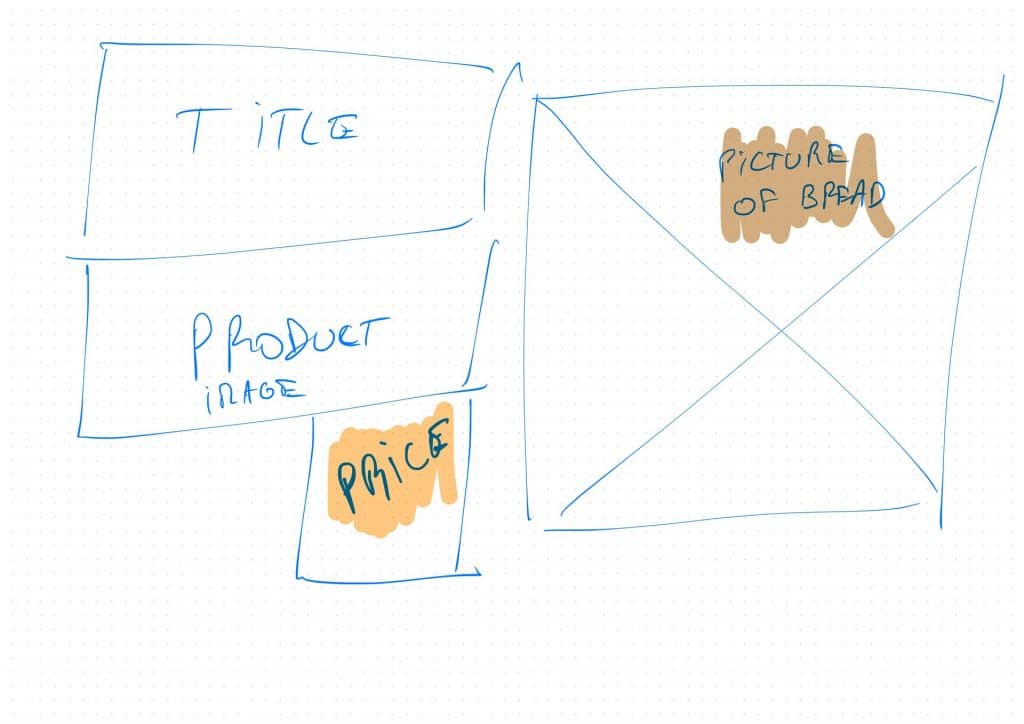
For this I recommend to research in google For some examples of designs, you will find plenty. You can check what other Well known businesses or institutions are doing in your area of expertise. It is likely they already done all the research for you, and simply copy their overall design. With experience, you will start creating your style of content, but to start you need to make sure it looks right.
After you have done some research and came up with you basic design idea, just make a simple drawing of the layout and what it needs to contain. If you have some colors that represent your brand (for example CocaCola is Red and white) Make sure to include them in the design.
Once you have this first concept sorted, head to Piktochart.com to create your account and start creating your designs from scratch.
2. Open a free account on Piktochart
PiktoChart is a great tool for creating content online, like infographics, flyers, posts,…. Their free plan allows you to have up to 5 designs. That’s enough for most users. Their user interface is very simple and easy to understand. This is why it is a great tool for everyone, even those with no skills in creating content.
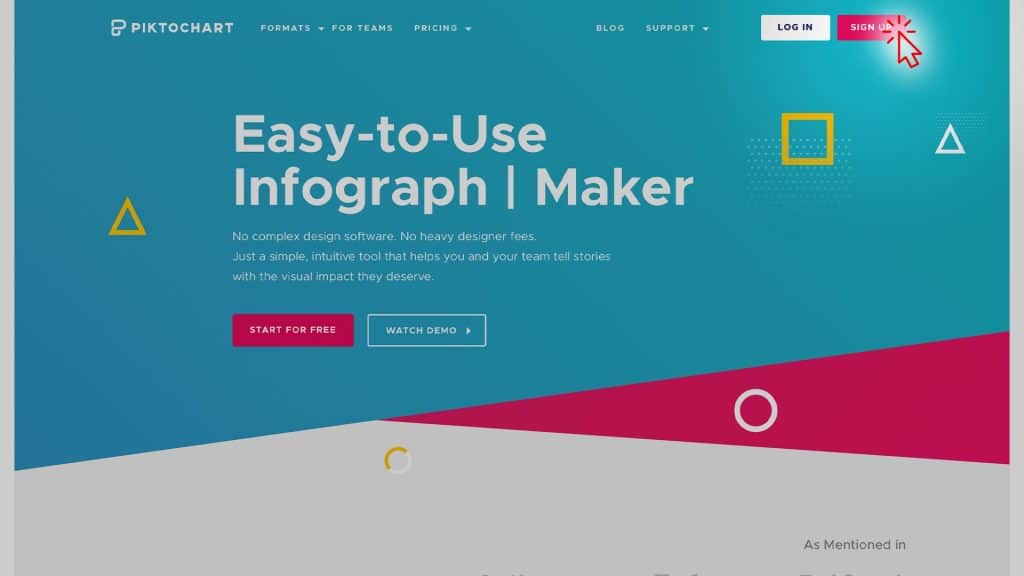
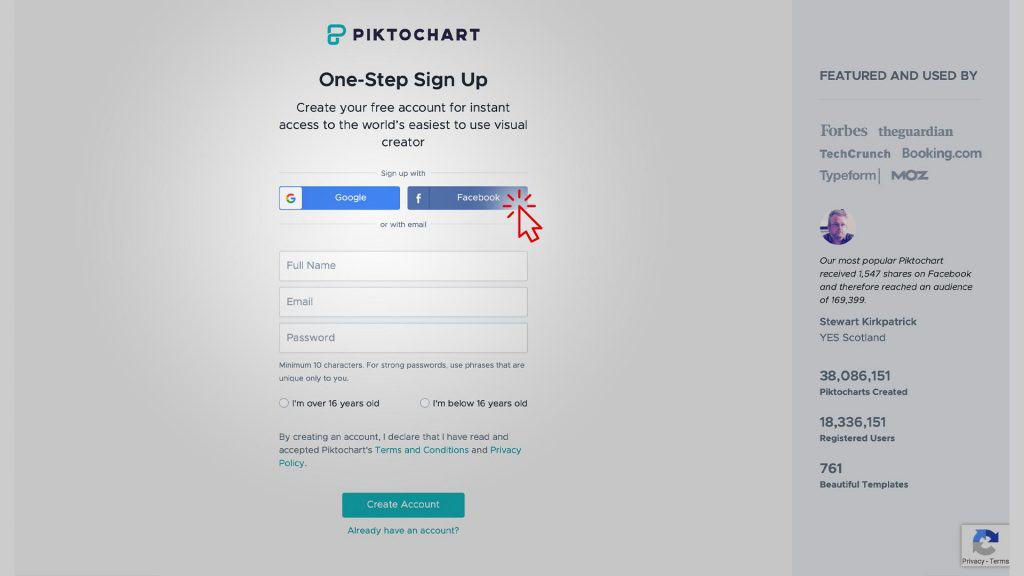
It is recommended to use Chrome or Firefox to get the best experience. To signup, simply click on the button on the top right corner, and i recommend to use your favorite social network to speed up the process. It will take less than 2 minutes.
3. Start your first layout creation
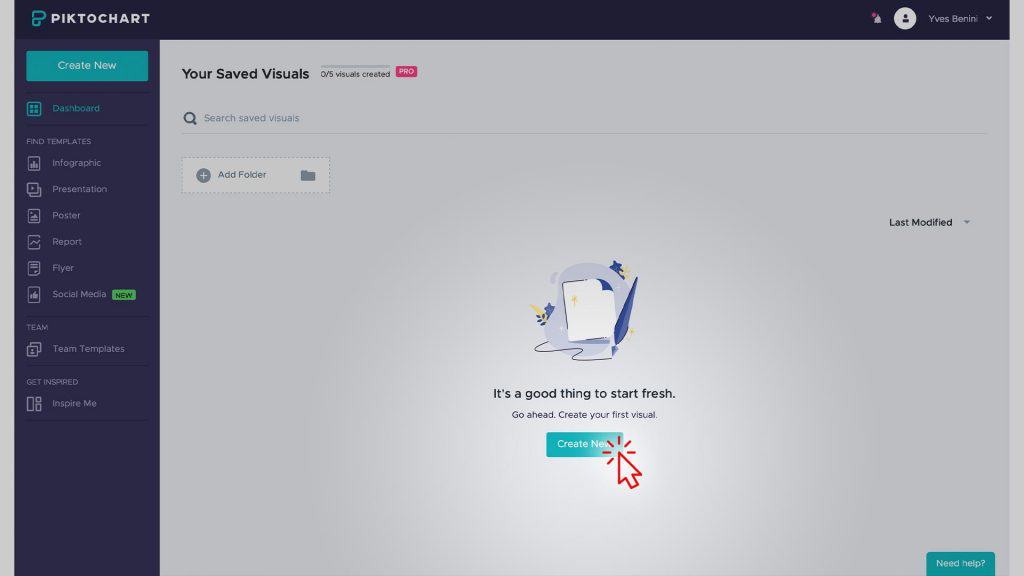
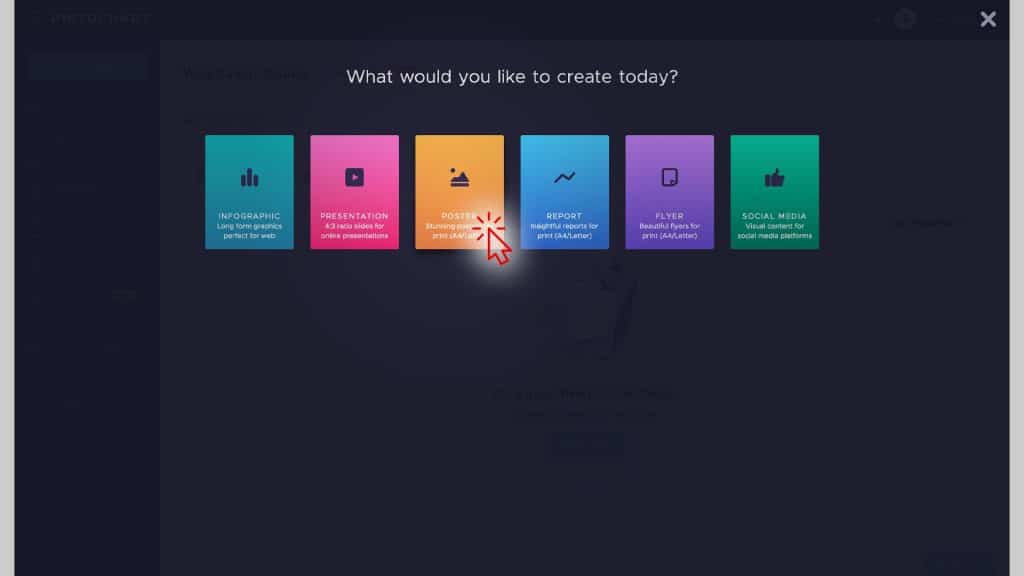
Great, you are in! As you can see the User interface is not intimidating, and really clear. To get started, simply click on the « create new » button. In the Pop Up, select the « Poster » option – Other options will not let you change the resolution of the layout.
4. Adjust the resolution settings
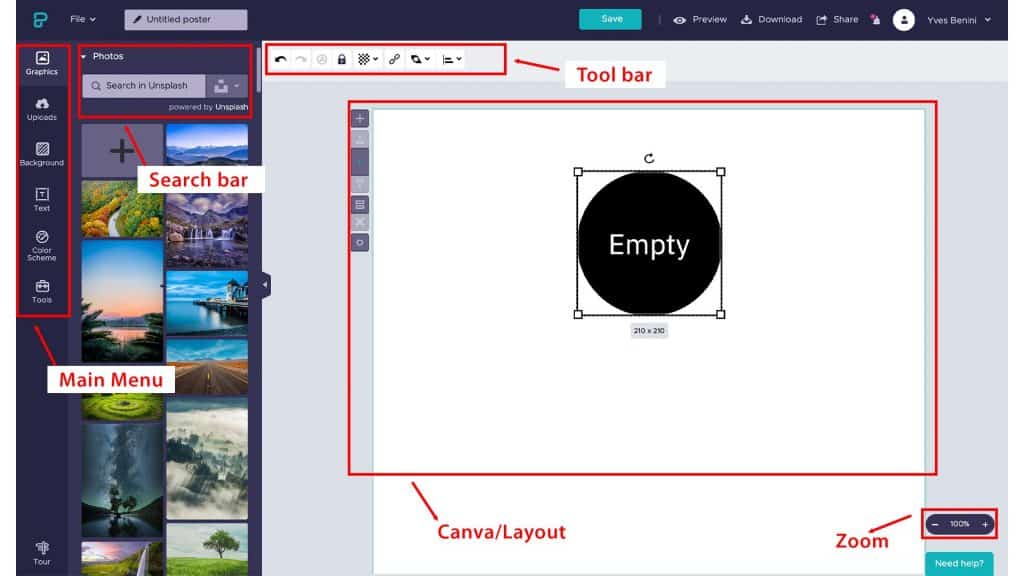
So you have your first Canva/layout in front of you, and it’s empty. Don’t be afraid ?. Finally it’s starting to be interesting. The content creation starts now! make sure you have your drawing and concept design next to you, and let’s move on to the next step. Digital Signage content creation can be easy, you will see.
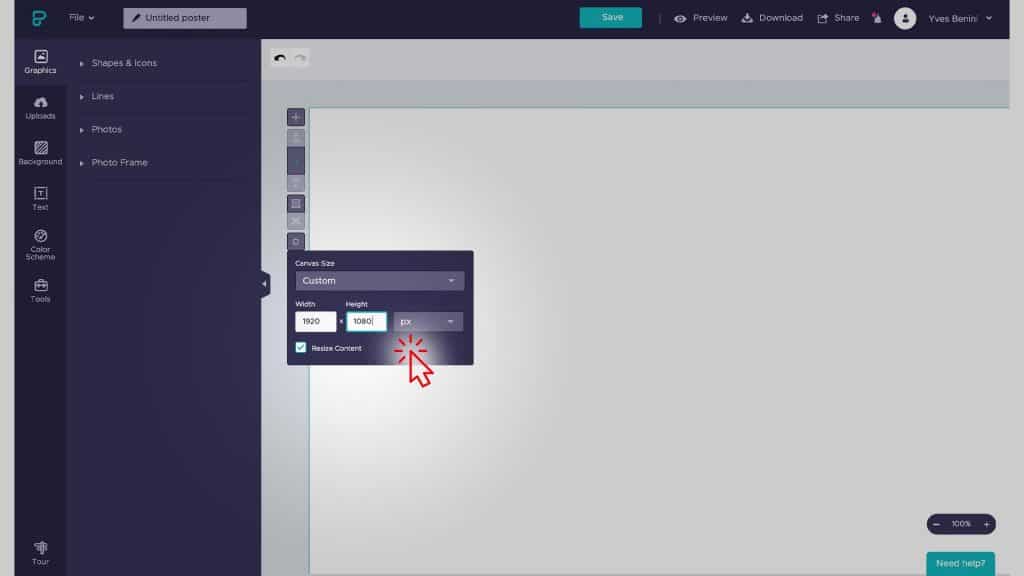
First you will need to adjust the resolution of the layout to fit your display. For this example we will use a Full HD resolution (1920×1080 pixels). Click on the small Cog on the bottom of the sidebar (on the left) and type in their the resolution. To conform simply click on the Cog icon again.
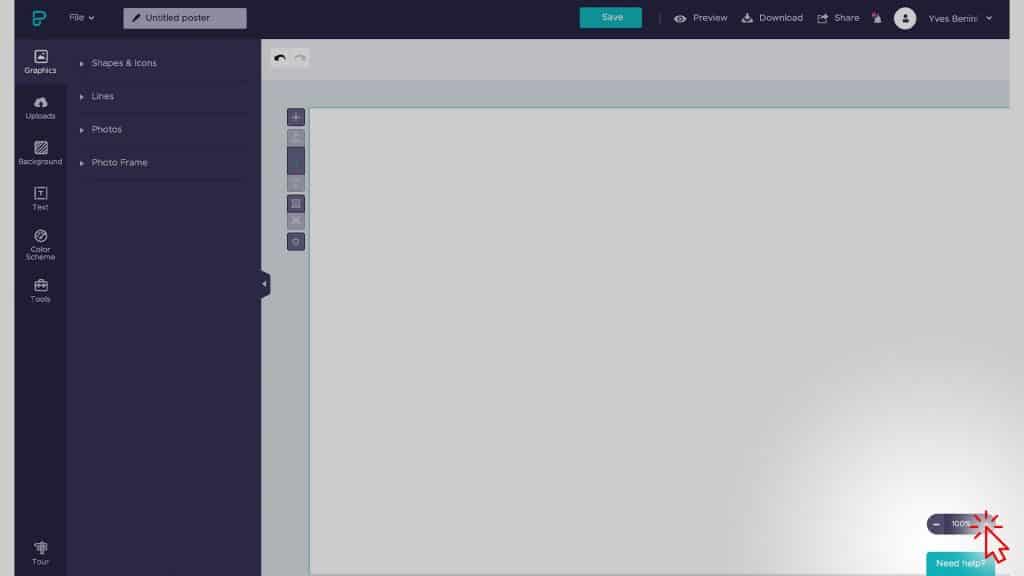
Once this is done, you may want to adjust the zoom to fit your screen and view all the canva/layout. You can do that by adjusting the zoom on the bottom right hand side (below the canva).
5. Add your background image
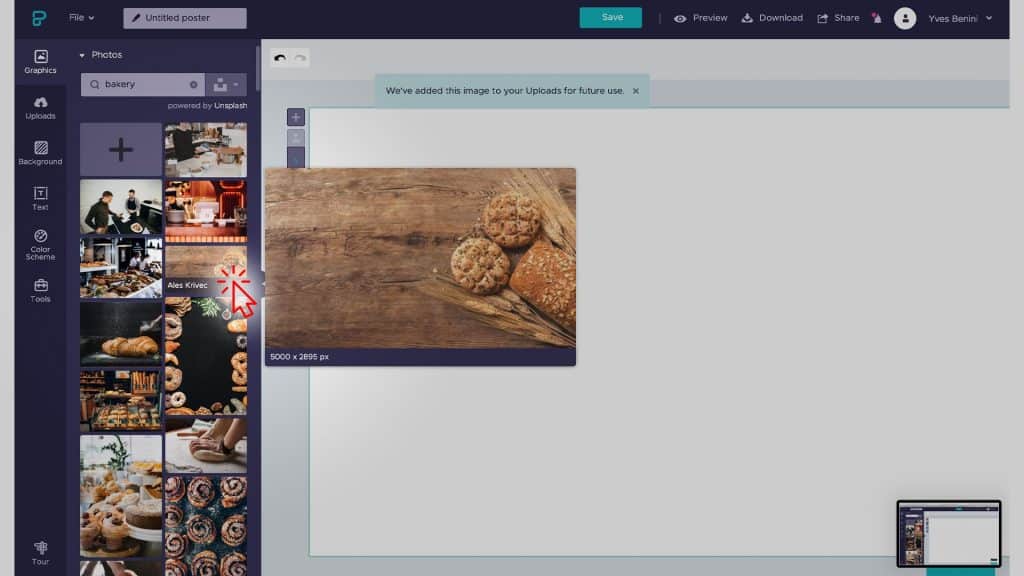
Let’s add our first image! In the left menu click on «Graphics» then on «Photos». In the search bar, type «Bakery», many resulted will appear, choose teh background image with the wooden board. And bread on the right side. This will be perfect for background image. Once you added it you might have to adjust it’s size to fit the Entire layout.
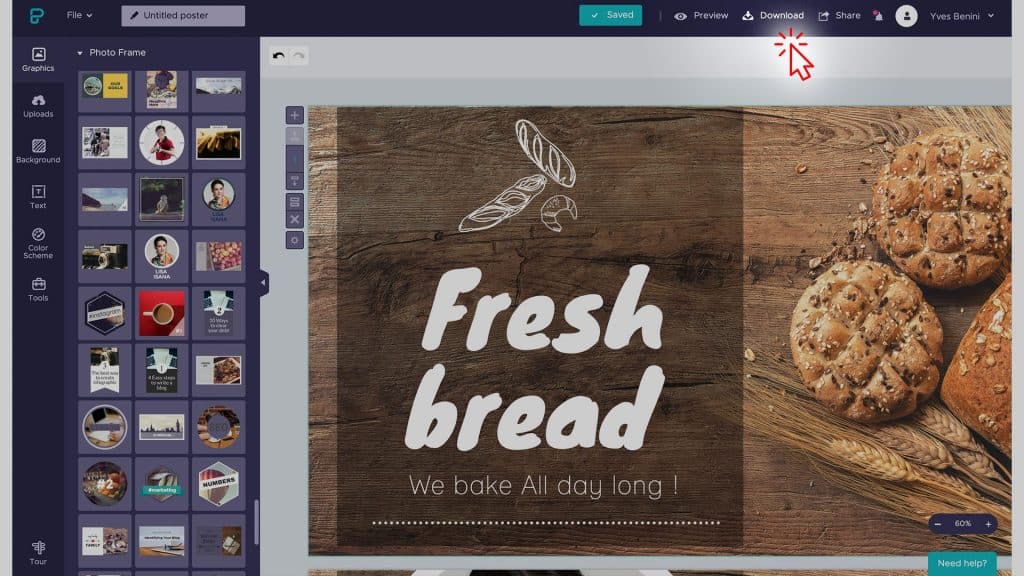
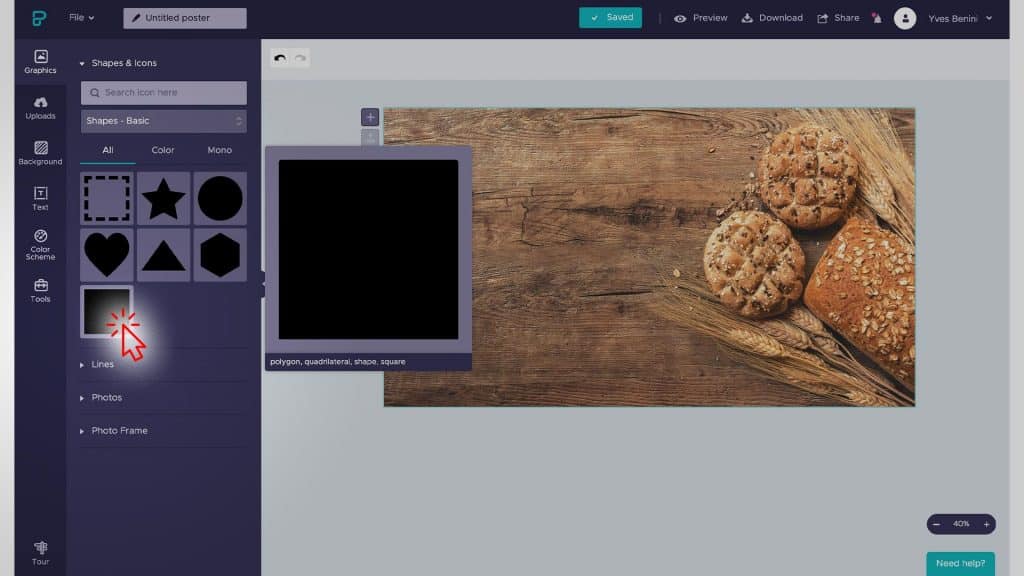
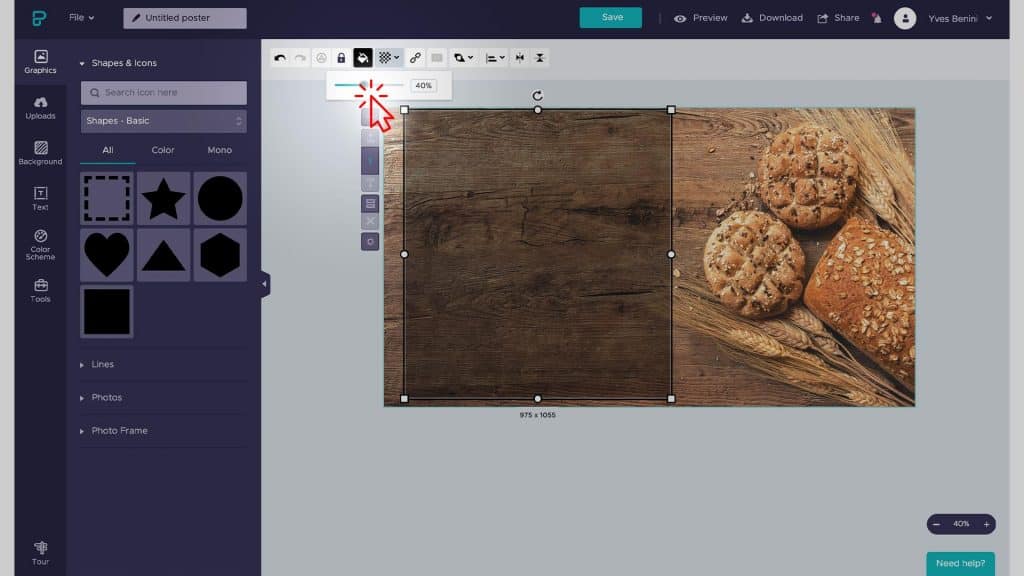
Once this is done, go back to the menu, go to « Graphics » and select « Shapes & Icons» there select the rectangle and drag it to the left side of the layout. Adjust it’s size so it takes most of the space, but leave some room below and on the side to make it stand out. Now adjust it’s opacity by clicking on the icon on the tool bar located at the top. 40% is a good value, It will make the text stand out.
This is very important that the text and images do not overlap. they need to be clear and visible to your audience. This is key for digital signage content, and of course any other type of contents. You can check our blog post on content creation advices for LED Displays and digital signage here.
6. Add some icons
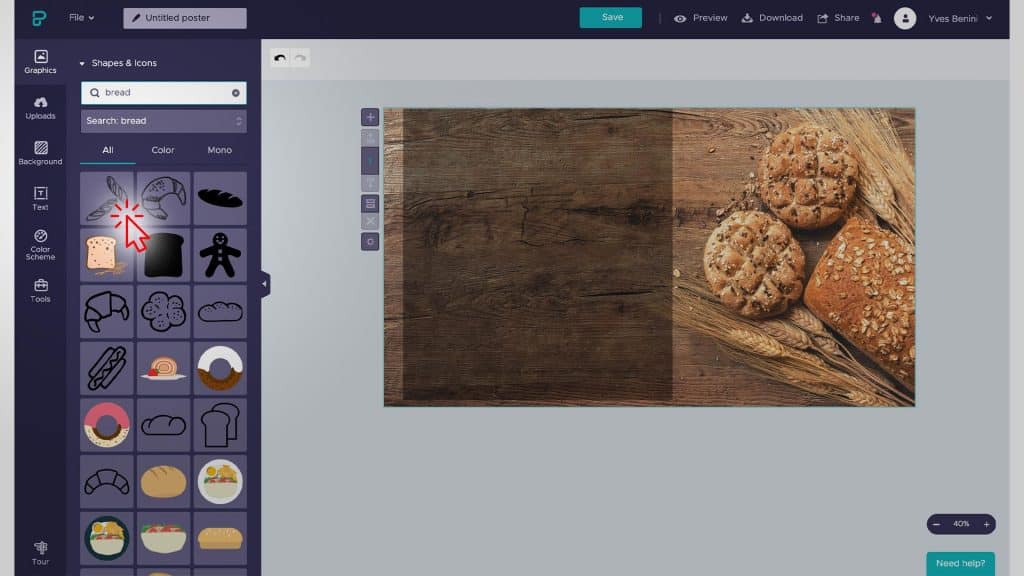
So we have our background sorted! That’s great! Not so difficult isn’t it ? Now we can add some life to the design, your key message. So let’s add first some decorative elements. In the « Shapes & Icons » menu, type « bread » in the search bar. Use the first 2 icons with The « baguettes » and the « croissants ». Drag and drop each icon to The layout, and move them to the top of the rectangle.
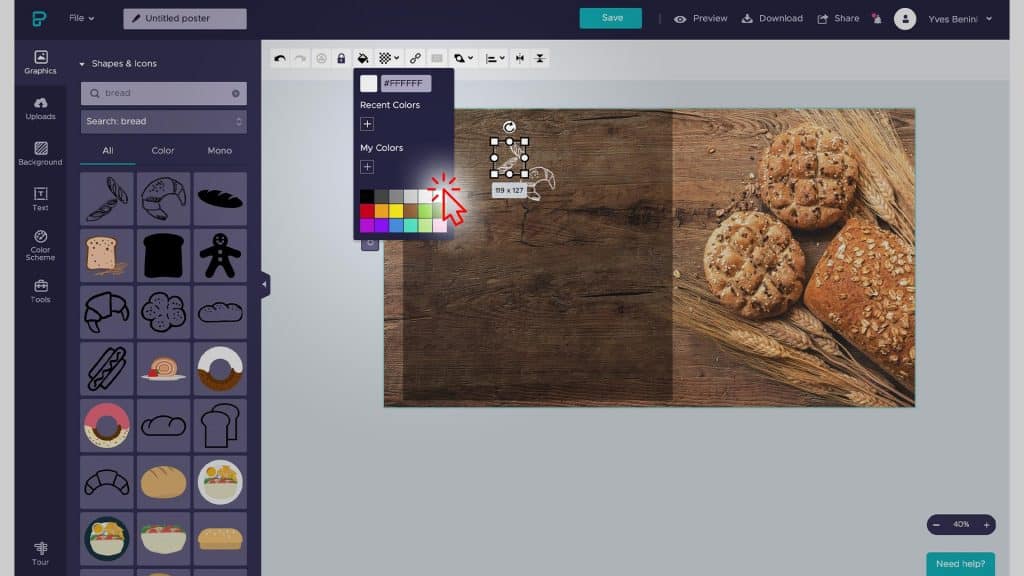
Adjust their sizes to don’t take too much space and let’s change the color to white. To do this, simply go to the tool bar, and Select white. Make sure the icon is selected when you do this.
7. Add Some text and call to action
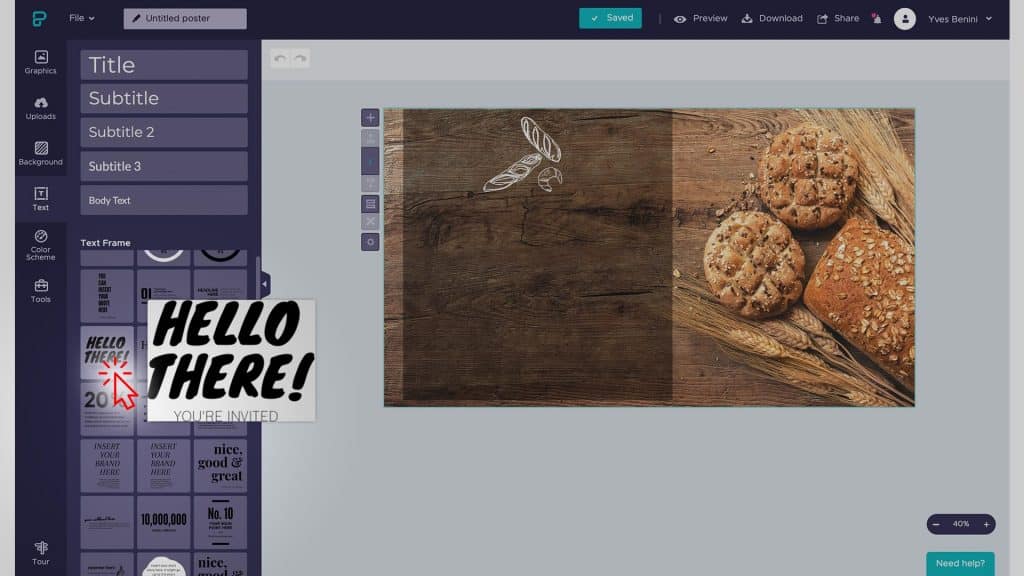
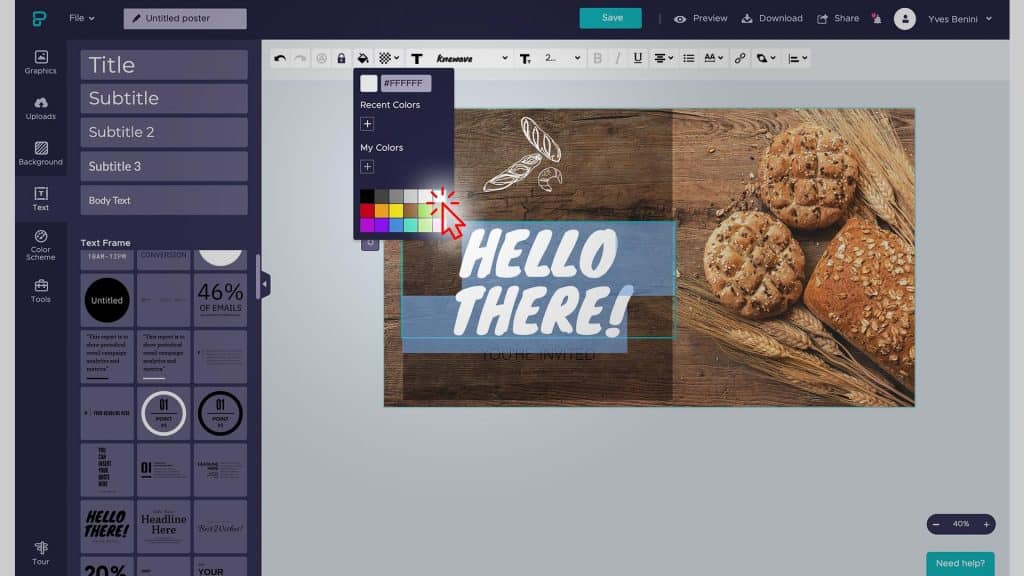
So now we will add some text to our design. We will go the the main menu and select the “text”. Go down the list and select the big “hello there” title. Once it is on the canvas, just change the color to white. Then type the text.
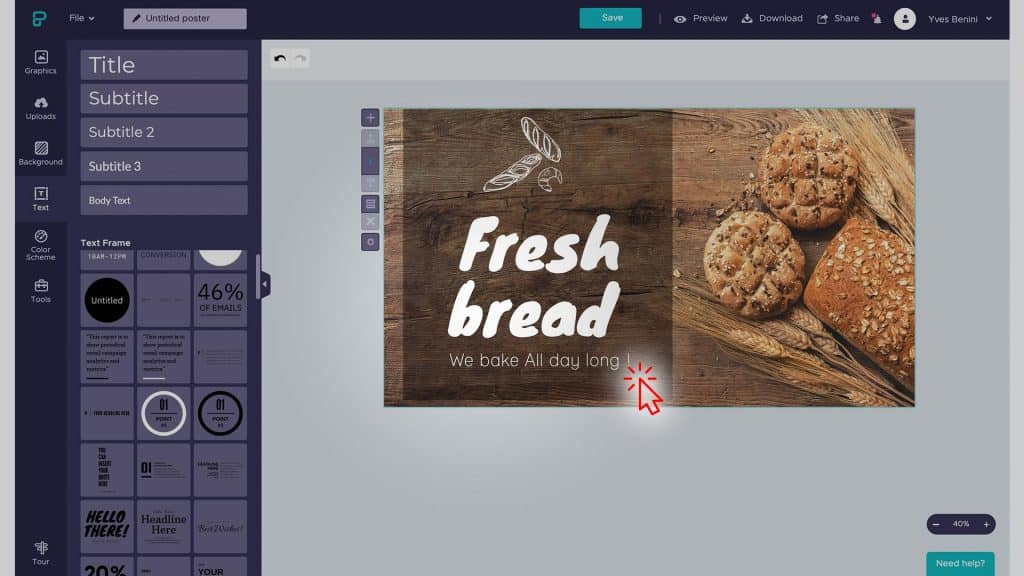
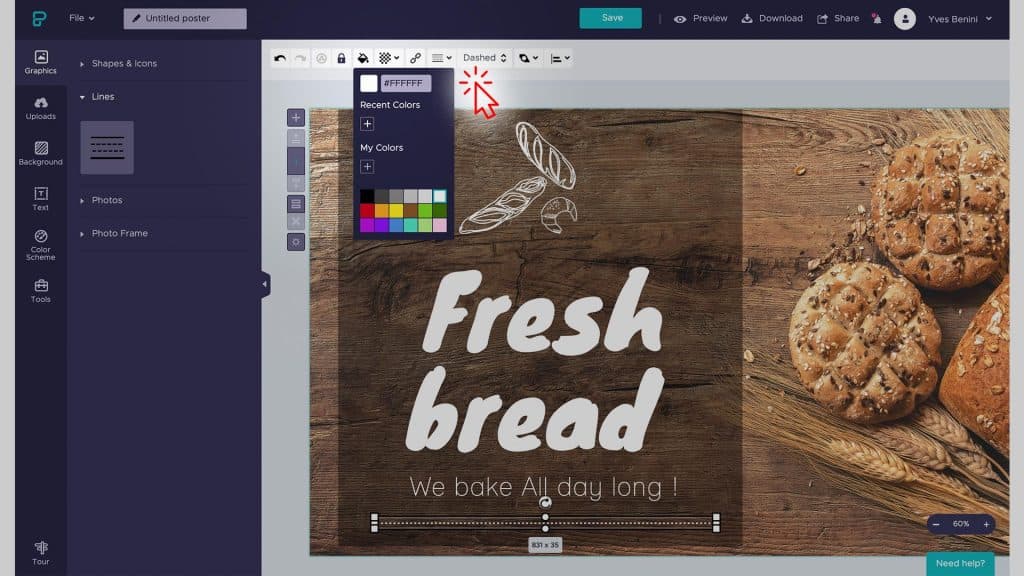
We will add a line at the bottom of the rectangle. This will add some details to the design. Go to the main menu, in “graphics” then in “Lines” and drag and drop the line on the canvas. Adjust the size to be longer and fit the rectangle. Then go to the tool bar and adjust color and style. Choose “Dotted” for the styling. You can as well increase the size of the dots.
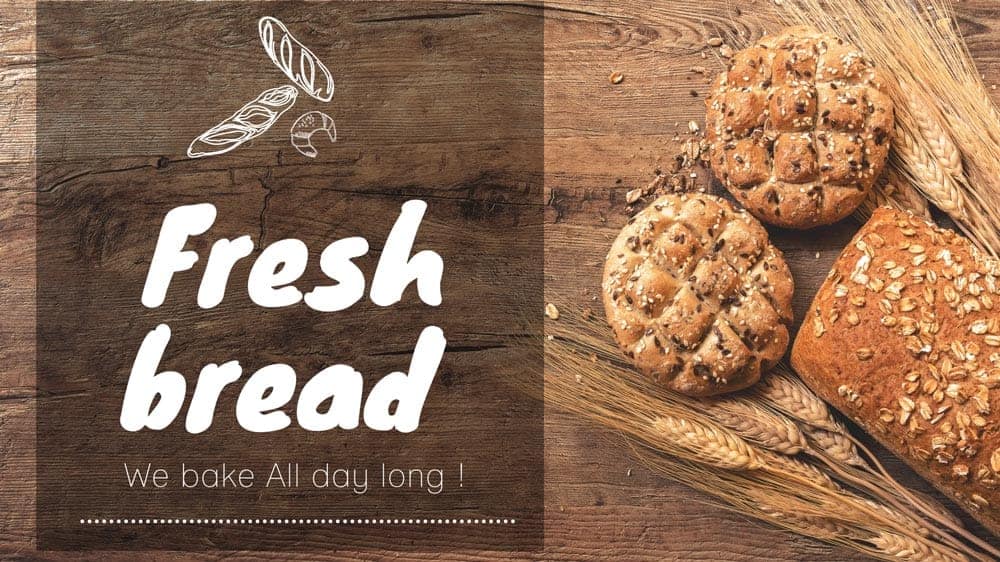
We got our first design page ready! This is great, the result is amazing, let’s move forward and create the second page of our design.
8. Now let’s duplicate the canvas
So now we will use what we created to duplicate the background and start a new design. This will allow to keep a constant styling for our digital signage content. Simply click on the “Clone block” button.
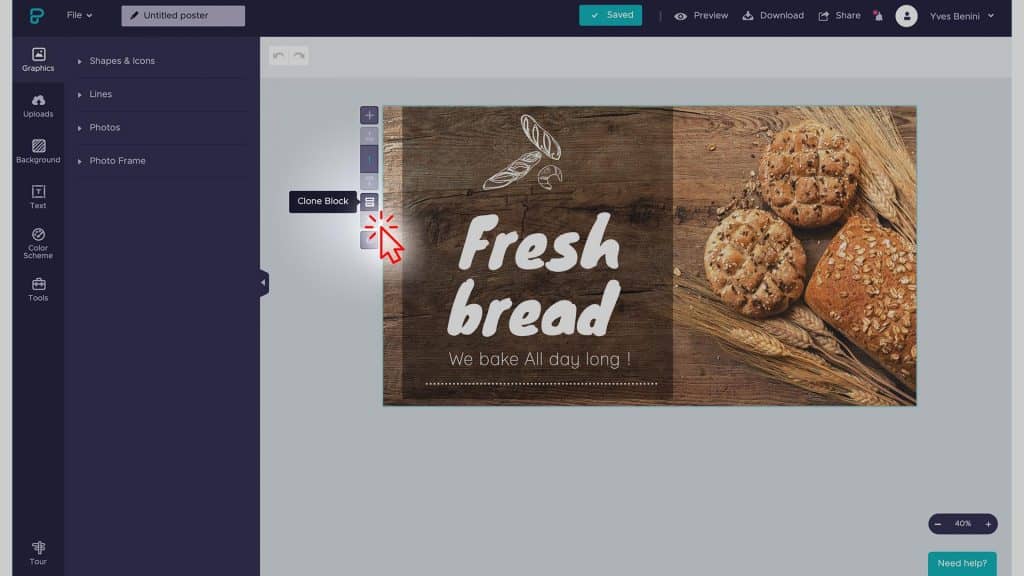
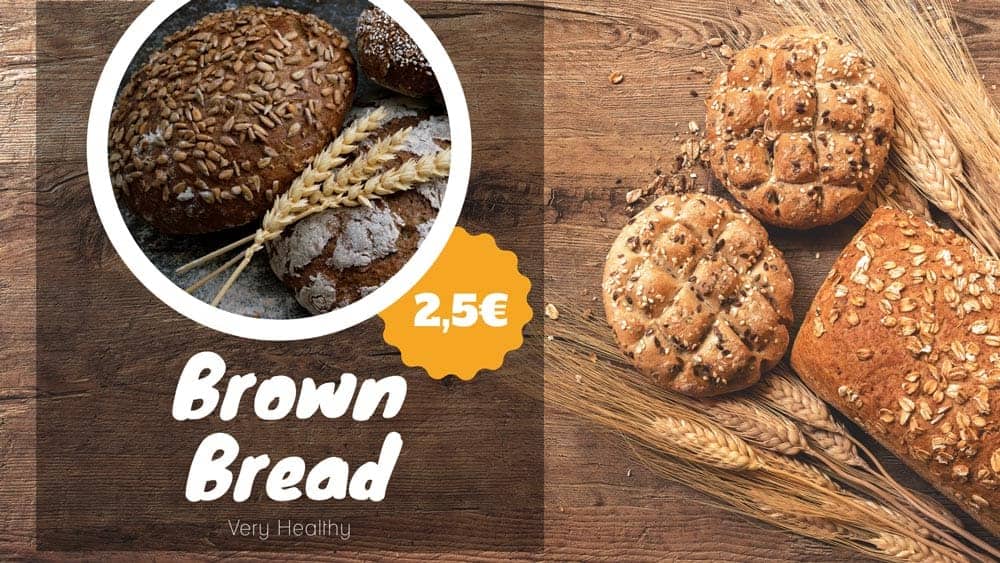
Now simply delete the content of the duplicated canvas, we will add new elements. An image, some text and a price for promoting some products.
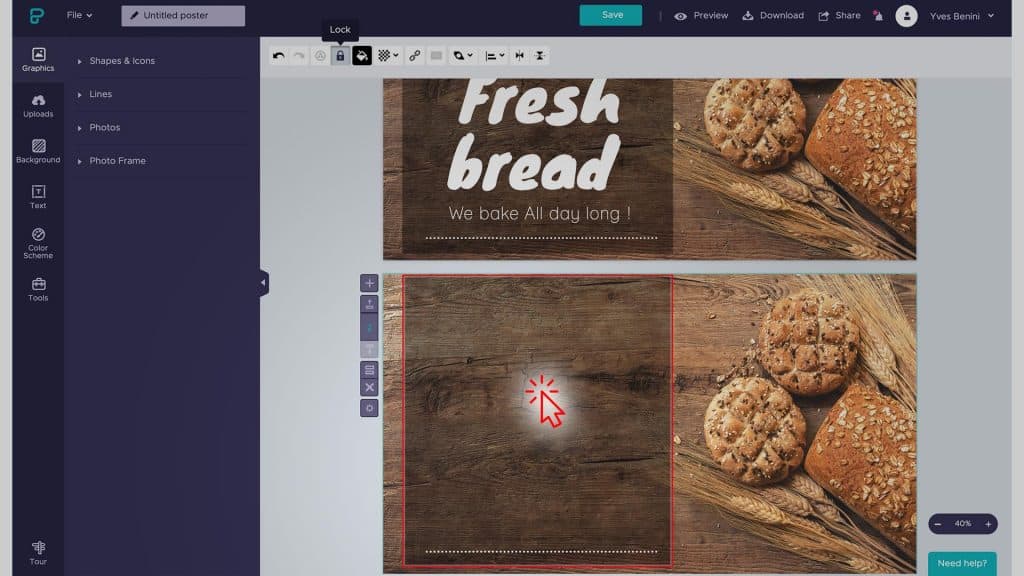
9. Add a photo to the layout
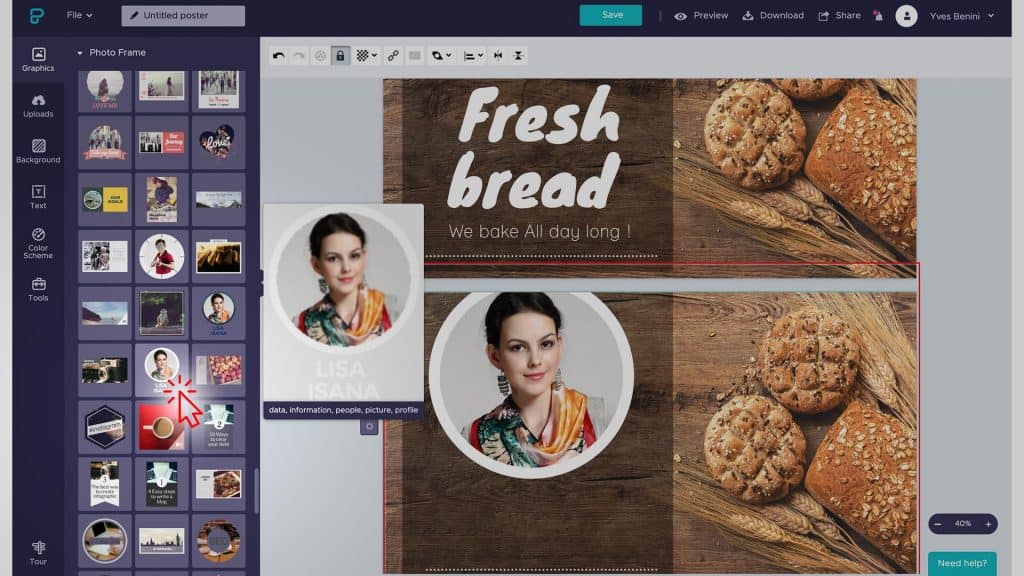
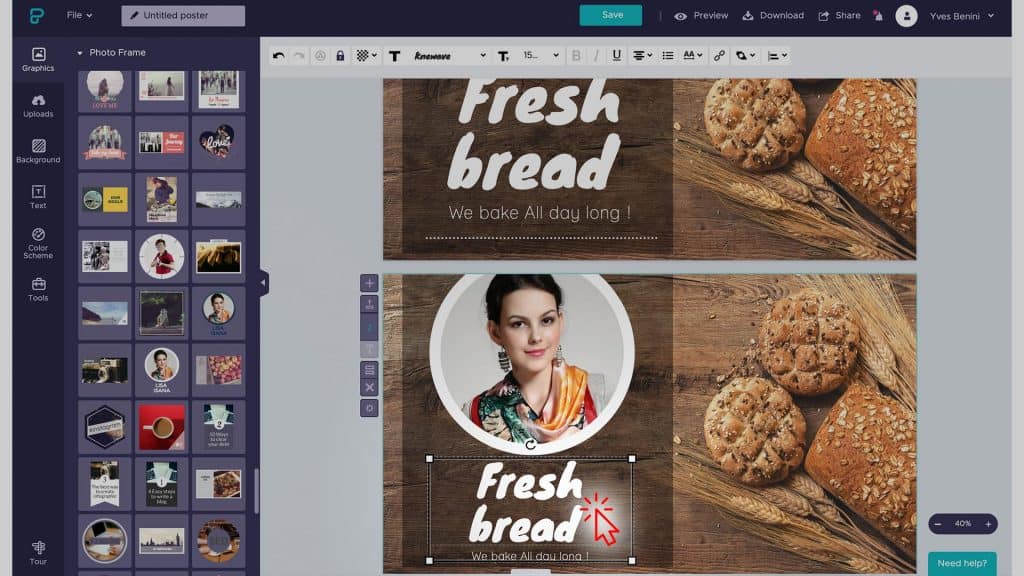
Once you have done this, go to the menu and “graphics” then to the “Photo Frame” sub menu. From there go down and select the rounded photo frame with a broder. drag it on the canvas, and adjust it’s size to fit the rectangle. Delete the text that is included, we will use previous text title. So simply copy from the top canvas (Ctrl-C) and paste it on the bottom canvas (Ctrl-V).
10. Let’s add a price to the layout
Now let’s add some price for the product. We will go to the “Shapes & Icons” menu. From there go to the “shapes” sub menu. Go down the list and add the circle tag to the canvas.
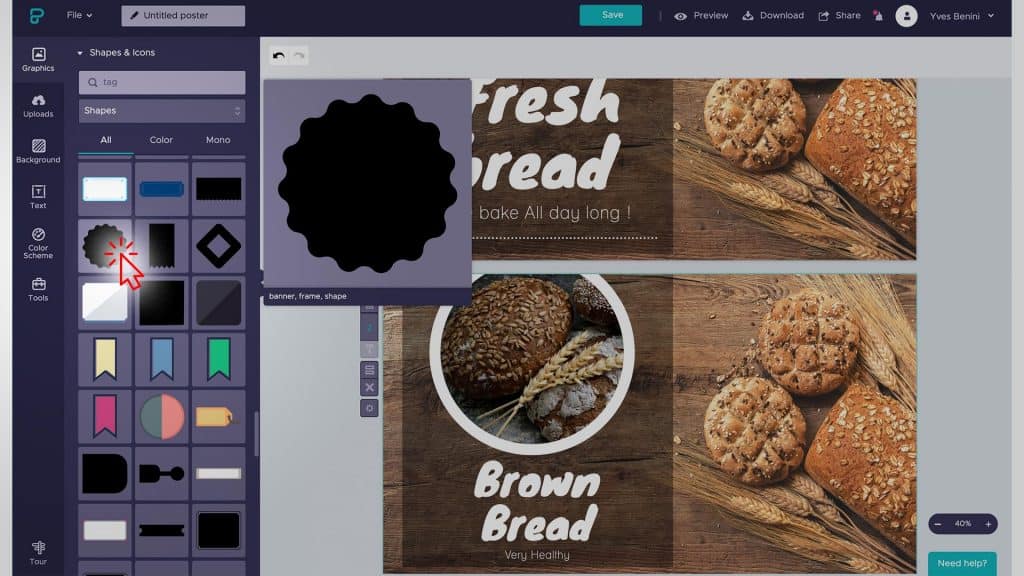
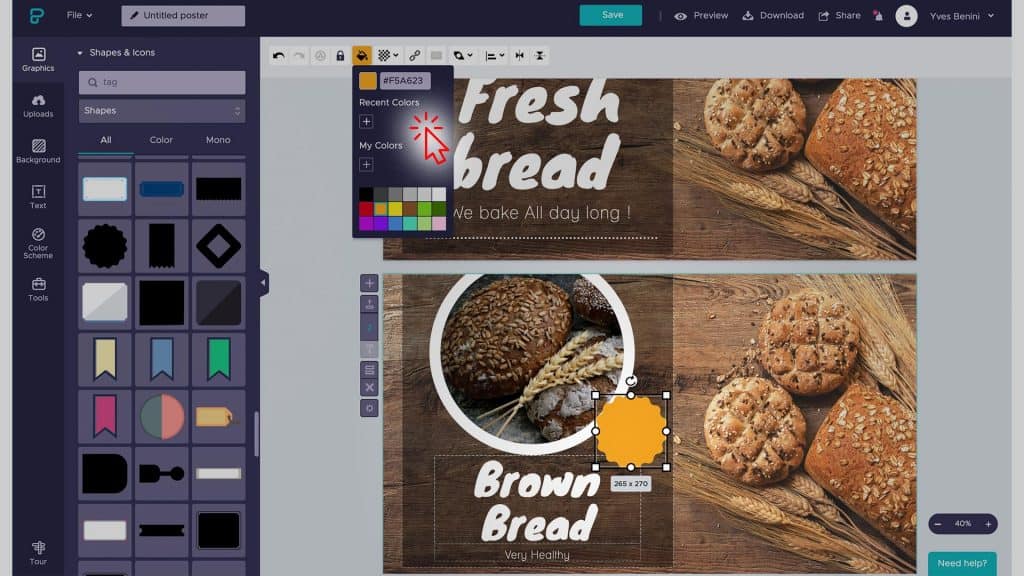
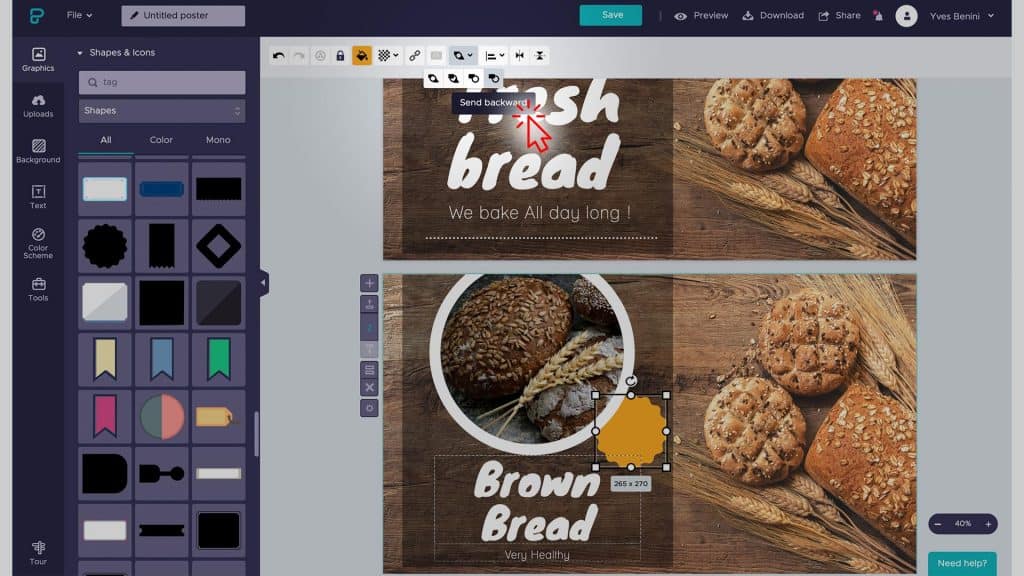
Adjust it’s size and color form the tool bar. And place it behind the main picture, see how to do this on the screenshot. The top bar menu has an option to adjust layer arrangement compared to other layers.
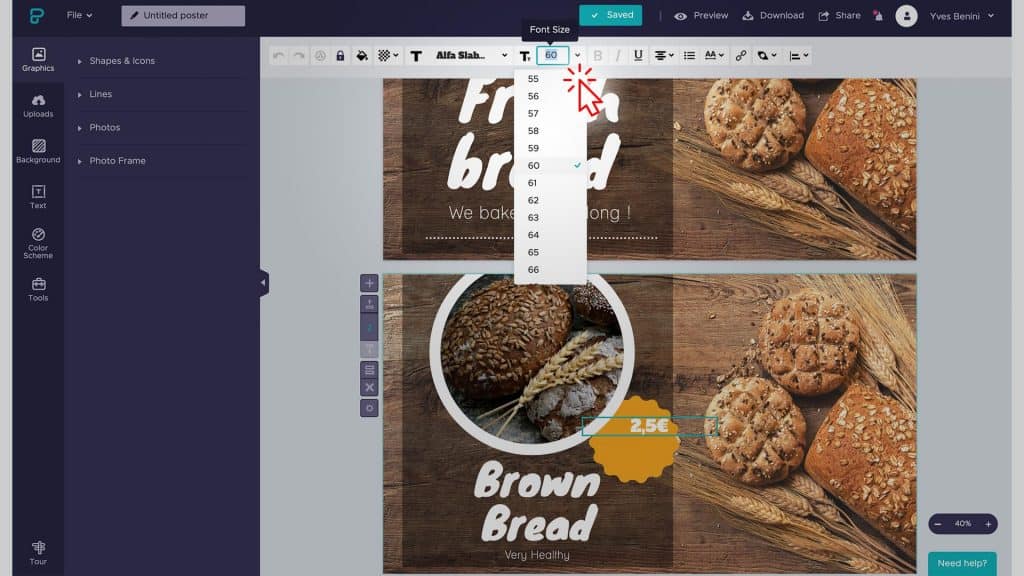
Let’s add some price to the product by adding some text. Select the “Text” menu and add the “title” to the canvas. Adjust it’s size, font and color. Make sure it is big, here I used a 60px font size, White color, and Alfa Slab font. this works well with our current design.
Great, we have done our second layout, and it looks great. Now we need to export it to upload it to easyCMS and schedule it on our display!
Export your creation
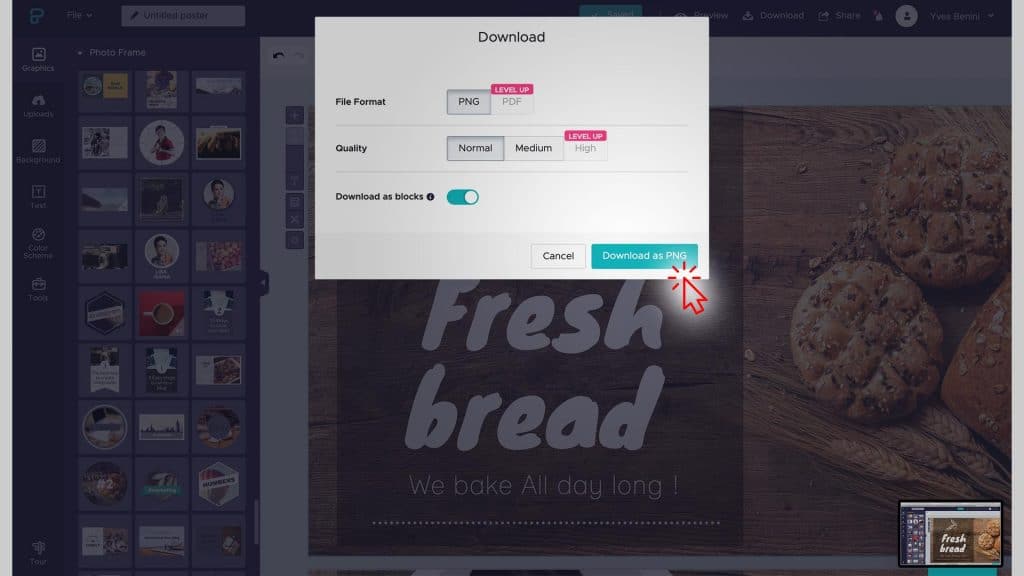
To export all the designs , simply go to the Top right menu bar, and click on “download”. On the PopUp leave defaults, make sure “download as blocks” is selected. And you get a Zip file with all your designs. Once downloaded, unzip it and upload it to easyCMS.
